NB! Before proceeding with the migration, please ensure you have the correct credentials, as specified here. |
Background
DPD Local has introduced a new portal and API connection that will replace the existing integration. Going forward, new functionality and updates will be developed through the new API.
We recommend starting the migration early to allow sufficient time for setup and testing.
For the full setup instructions, please refer to the DPD Portal Instructions.
Scenario
I need to move existing DPD Local services to the (New) DPD Local integration.
Solution
1. Add (New) DPD Local integration to your Linnworks account.
More details here.
Once the integration has been added and saved, you can reopen the configuration to add Shipment References and Export Details, if required.
After adding the necessary information, review all details to ensure they are correct, then save the configuration.
2. Remove DPD Local services.
Go to Shipping > Integrations > DPD Local > Services. Click the bin icon to remove the service, then click Finish.
3. Add services to (New) DPD Local.
Go to the Services tab under the (New) DPD Local integration and add the required services from the dropdown: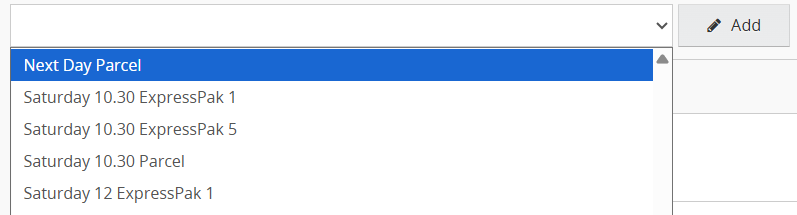
4. Link existing postal services.
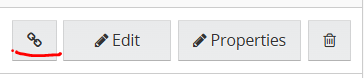
Click the link icon next to Edit and select the relevant unlinked Linnworks Postal Services from the list.
5. Configure Service Settings.
Click Edit next to the service to enable features such as Extended Liability, Customs Value Includes Tax, and others.
Select the required options, click OK, then click Finish to save the configuration.
Keep in mind: If you select the Extended Liability option for any service, make sure the Order Extended Properties include both ExtendedLiabilityAmount and ExtendedLiabilityCurrency. More details can be found here.
6. Configure Printer Settings.
Once the Services have been added and configured, go to Shipping > Integrations > (New) DPD Local > Printer Config.
Ensure that the correct default printer, or user printer depending on your previous setup, and the appropriate template are selected.
Once you are satisfied with the configuration, click OK.
7. Configure Properties Mapping.
Go to Shipping > Integrations > (New) DPD Local > Properties.
Ensure that Country of Origin, HS Code, Description, IOSS, and any other required properties are linked to the correct Item or Order Extended Property.
Review the mappings carefully to ensure that all required information is correctly linked, then save the changes.
Additional Information
(New) DPD Local: Accessing the new DPD Portal